Disclosure: As an Amazon Associate and an Affiliate of other programmes, I earn from qualifying purchases. This page may contain affiliate links, which means I may receive a commission if you click a link and purchase something that I have recommended. There is never an additional cost to you.
Table of Contents
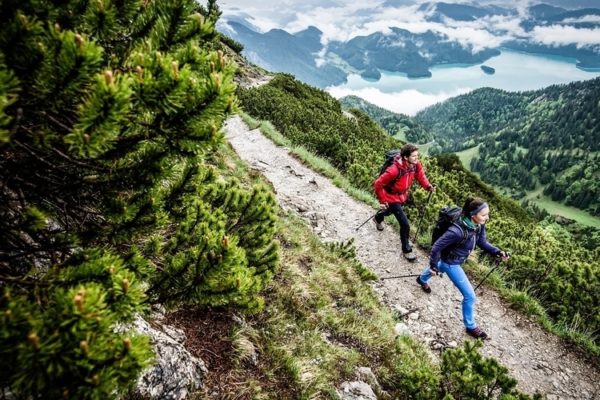
There are many advantages of using Trekking Poles. First, they assist you in helping create a fast walking pace. Second, they help protect you when traversing difficult terrains such as rocky slopes or bogs.
Third, they provide added support to your lumbar spine, back muscles and joints, so you can walk for extensive periods and cover long distances.
How Long Should My Trekking Pole Be?
Sizing your Trekking Pole is relatively easy, in part to accessibility features that are included in the extensions. But, you should make sure not to make your Trekking Pole too long or too short, as doing so redners their primary purpose pretty useless, so you don’t get the support needed whilst walking.
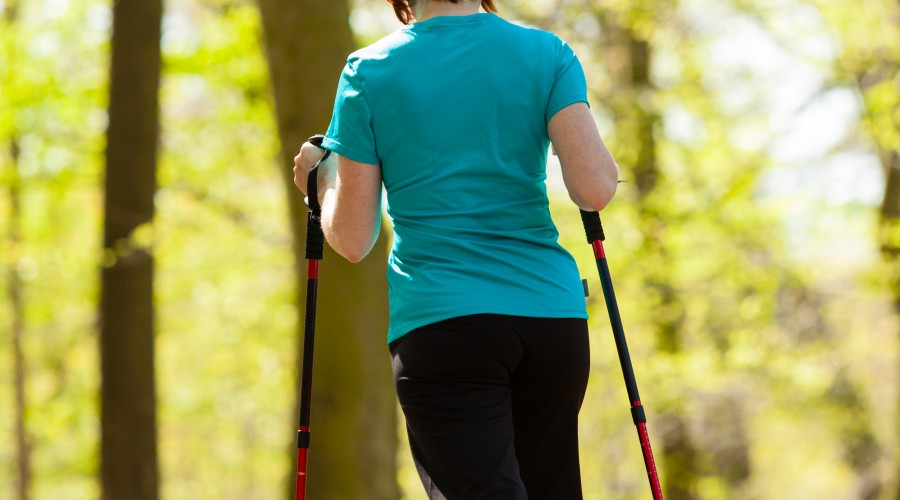
There some things you should consider when adjusting your Trekking Pole height. The first one is your own height. The second is what type of terrain you will be encountering and lastly, the pace which you plan to be walking at.
1. Regarding Your Own Height
Trekking Poles should usually be extended to the height of your open palm, when your hand is held out in front of you at a ninety degree angle. Once the height is correctly adjusted, you need to change the height of the handles. These should be at your hip level, allowing you comfort when holding the pole when walking.
If you think your extremities are a bit shorter or longer than the average person, then make sure you adjust the tool accordingly so that you feel comfortable when using.
2. Regarding the Expected Terrain Type
Walking Uphill
Walking poles should be shortened by a few inches when you are traveling uphill to increase the load bearing pressure. If they are too long you might also find that you are overstretching when trying to plant them.
Walking Downhill
When travelling downhill the poles will take some of the strain off your knees. You should increase the length of the pole so you aren’t stretching out too much when placing it, this will help improve your balance. Depending on how steep the hill is this could be by as much as 10 inches.
Contouring
If walking round the side of a hill rather than going up to the top, and down the other side use a shorter pole on the rise side and lengthen the pole for the fall side to give you the best support.
Mud, sand or Beach
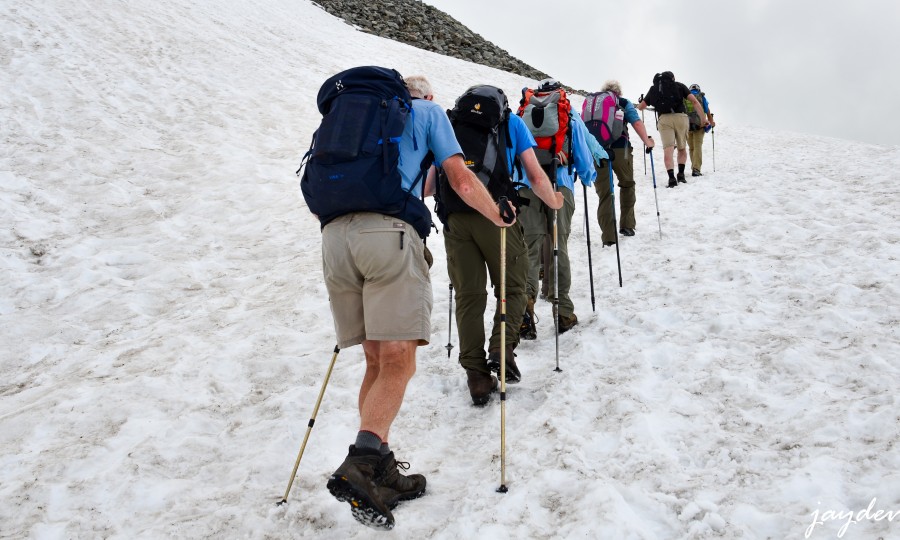
When faced with muddy terrain, sand or beach, you should extend both poles by a few inches. Then you won’t feel the pressure of your poles as they are driven into the ground. You will be able to stay hiking with the same stability as if you were on regular ground.
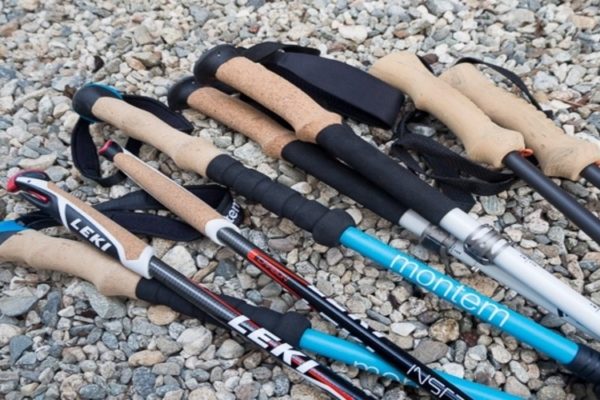
Trekking Pole Shaft Materials
The pole shaft’s makeup is a key determinant of the pole’s overall weight.
Aluminum: The more durable and economical choice, aluminum poles usually weigh between 18 and 22 ounces per pair. The actual weight (and price) can vary a bit based on the gauge of the pole, which ranges from 12 to 16mm. Under high stress, aluminum can bend, but is unlikely to break.
Composite: These poles feature shafts that are made either entirely or partially from carbon. The lighter and more expensive option, these poles average between 12 and 18 ounces per pair. They are good at reducing vibration, but under high stress, carbon-fiber poles are more vulnerable to breakage or splintering than aluminum poles. If you hike in rugged, remote areas, this is something to keep in mind.
3. Regarding Your Expected Walking Pace
When walking at a faster pace, you naturally bend forward more, which in turn shortens the distance between the ground and your palms. So this is why you should reduce the height of your Trekking Poles when walking at a faster pace. Not only does this make them more comfortable, but also takes off some additional pressure from your muscles.
On a slower walk, you might not need the Trekking Poles. But if you do wish to use them, ensure to increase their length so you don’t need to lean in so much to reach the ground. This allows you to easily control your pace and walk as slow as you like.
Adjusting the Trekking Pole Length
Trekking Poles usually have two or three sections that can be twisted and adjusted. Some even have more, sometimes upto six sections.
Some models require you to unscrew a section to adjust it, but most just use a simple twist to release the pressure and make the pole retract. After you adjust to your perfect length, you simply twist in the opposite direction until the section is held in place securely!
When adjusting to your height as per above it is best to start with the lower section. Hold the middle section, twist to unlock and pull the lower section until the stop mark appears. If you need to lengthen or shorten the poles when on the move you can adjust the middle section which is easier to reach.
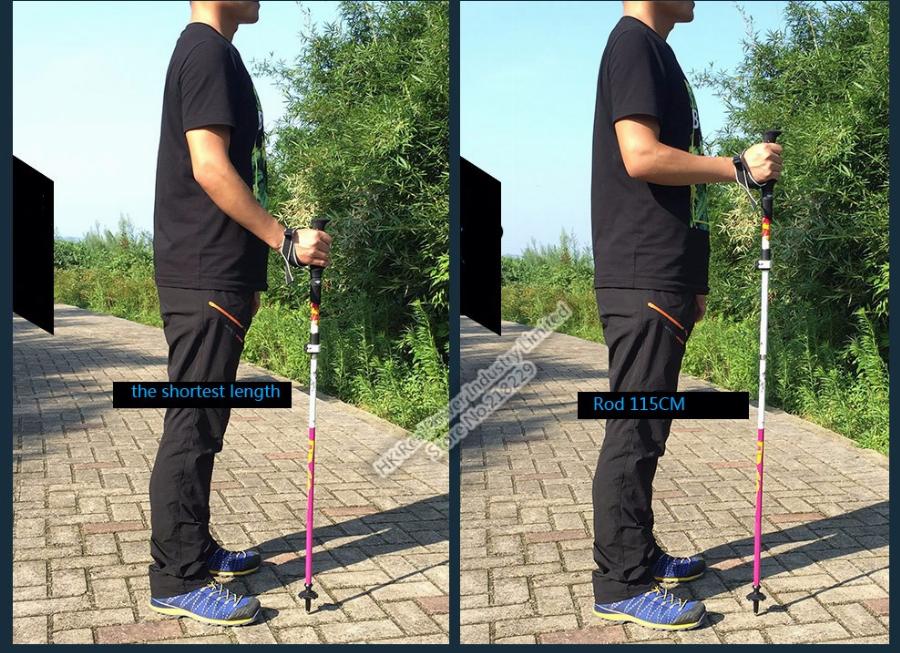
Make sure to tighten the sections securely so the poles don’t shorten as you walk. Try not to over tighten as many poles work on friction systems within the poles that can often become jammed.
Once you are happy with the height of your poles, it is a good idea to mark them with permanent marker or a spot of correction fluid so you can set them up swiftly next time you go walking.
Other Trekking Pole Considerations – Negotiating Obstacles
Trekking Poles can be quite useful when you encounter obstacles during your trek.
Stream and river crossings: Trekking Poles provide much-needed stability when you have to wade through water. Make sure each time you plant your pole, it’s secure on the bottom before moving forward. If the water is deep, lengthen your poles.
Puddles: You can maneuver around them, using your poles for stability, or you can do a “pole vault” to the other side by planting both poles and hopping over.
Large rocks: For getting up and over large rocks, poles can give you a helpful push. To do this, plant both poles in the ground and as you step up on the rock, push on the poles to get you all the way onto the rock.
Logs: To step over a log, simply plant the poles in the ground and use them for stability. If you’re walking on a log to get across water, you can use the poles to improve your balance by reaching them out to both sides (picture a tightrope walker using a large pole for balance).
Conclusion
As you know by now, there are several factors to consider when determining the correct Trekking Pole size. Your own height, your walking pace and the terrain are three of them.
Overall, the adjusting of a Trekking Pole is pretty straightforward and should be a simple task for most people. You simply unscrew, or more often, twist the section that you wish to extend or shorten.
You may have missed our last post “What Is A Trekking Pole? A Helpful Guide”
